
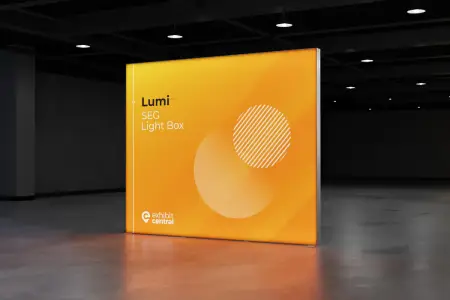


The SEG Lumi Light Box is a versatile and visually captivating lighting solution that can elevate the impact of your exhibits and displays. Whether you’re setting up a trade show booth, organizing a gallery exhibition, or showcasing products in a retail store, the SEG Lumi Light Box provides an excellent way to illuminate and highlight your content. In this comprehensive step-by-step guide, we will walk you through the installation process, ensuring a hassle-free setup and enabling you to fully leverage the stunning lighting capabilities of the SEG Lumi Light Box.
But before that, let us focus first on what SEG is made of.
What are SEG displays?
SEG displays, also known as Silicone Edge Graphics displays, are a popular and visually appealing solution for showcasing graphics and advertisements. They are widely used in trade shows, retail stores, exhibitions, and various marketing events. SEG displays are characterized by their seamless and sleek appearance, with vibrant graphics that capture attention. These displays utilize a unique technology where silicone edge graphics are inserted into a frame, creating a seamless and taut display surface. SEG displays offer versatility in terms of size, shape, and installation options, making them a popular choice for creating visually stunning displays.What is SEG material?
SEG material refers to the fabric used in SEG displays. It is specially designed to work in conjunction with the silicone edge graphics. The material is typically lightweight, durable, and wrinkle-resistant, ensuring a smooth and professional appearance when inserted into the SEG frame. SEG material comes in a variety of options, including polyester and polyester-blend fabrics, each with its own unique properties. The choice of SEG material depends on factors such as desired texture, opacity, and light diffusion characteristics. The material is carefully selected to provide optimal printing results and vibrant colors while maintaining the necessary flexibility for easy installation into the SEG frame.What is SEG fabric made of?
SEG fabric is made from various materials, primarily polyester or polyester-blend fabrics. Polyester is a popular choice due to its durability, resistance to wrinkling, and vibrant color reproduction. The fabric used for SEG displays is specially engineered to provide excellent print quality and light diffusion, ensuring that graphics appear sharp, vibrant, and evenly illuminated when illuminated from behind. SEG fabric undergoes a manufacturing process that includes treating the fabric to improve its printing capabilities and incorporating a silicone edge. The silicone edge is typically applied using a heat-sealing process, which creates a thin strip of silicone along the edges of the fabric. This silicone edge graphics allows for easy insertion into the SEG frame and ensures a tight, seamless fit, eliminating any visible creases or wrinkles. In summary, SEG displays utilize SEG material, which is a specially designed fabric made from polyester or polyester-blend materials. The fabric is treated to enhance printing quality and includes a silicone edge for easy installation. This combination of fabric and silicone edge graphics creates a seamless and visually appealing display surface that is widely used in various marketing and exhibition settings.
Step 1: Gather the Necessary Components
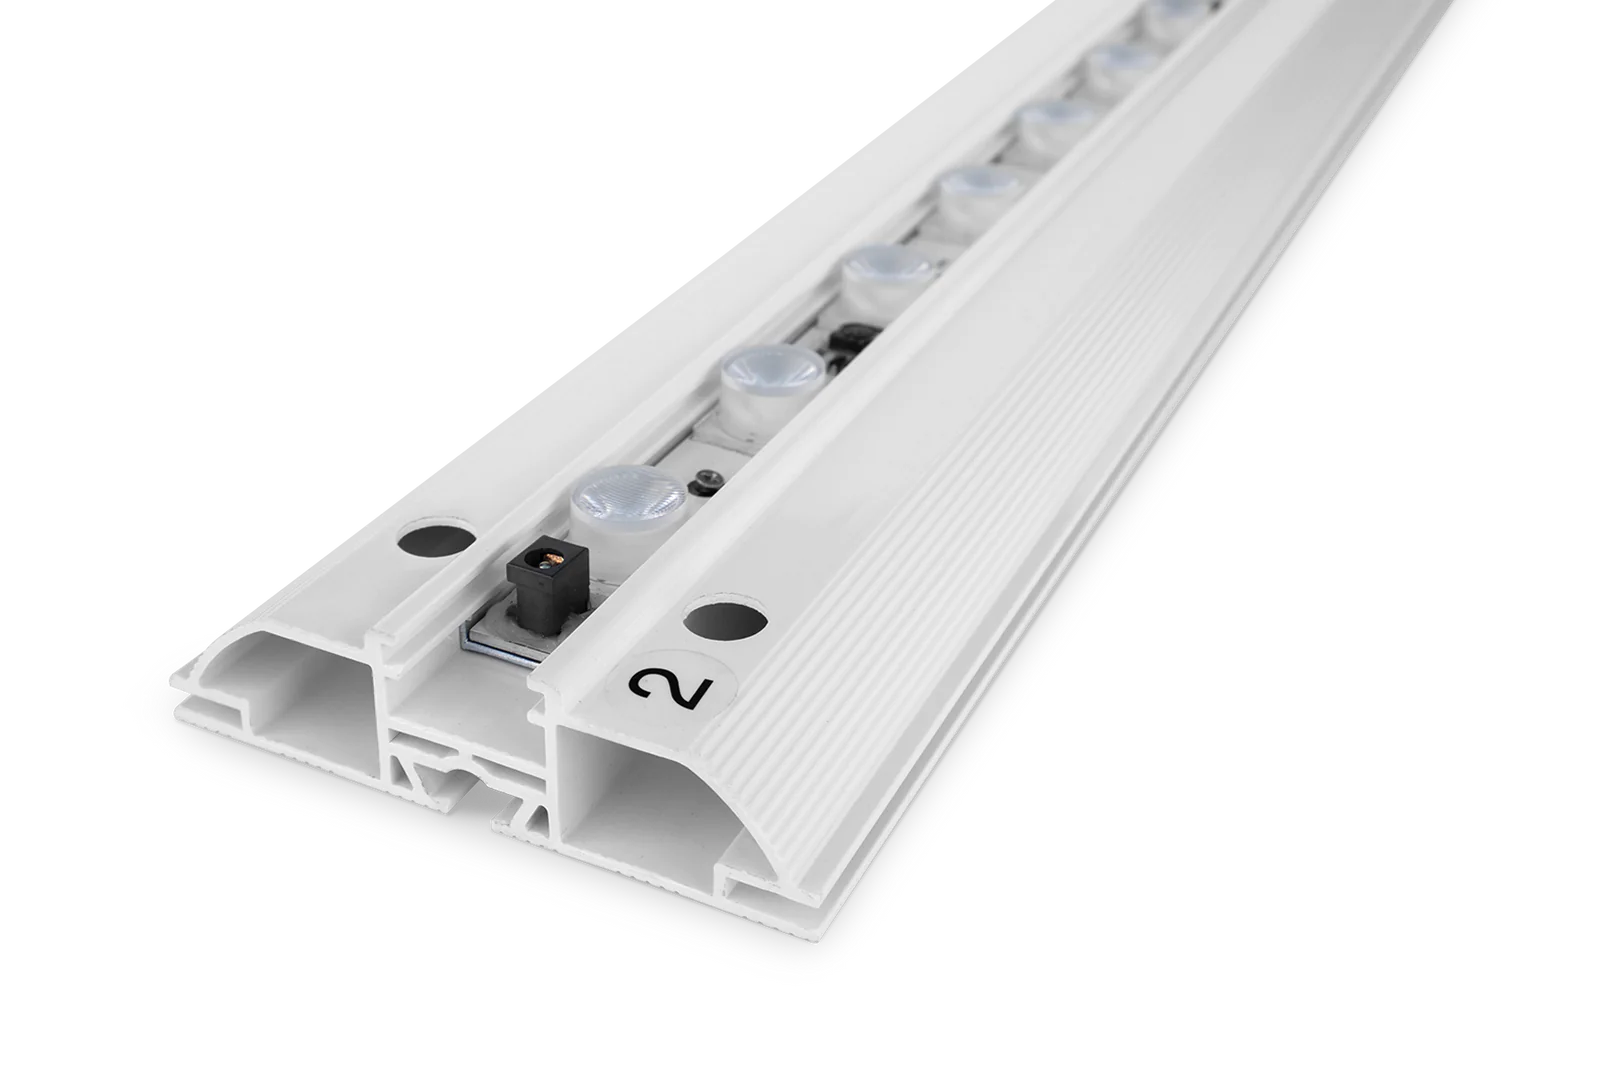
Before you begin the installation process, ensure that you have all the required components readily available. The SEG Lumi Light Box typically includes the following items:- Lumi Light Box frame and panels with LED light strips
- Connectors and cables
- Silicone edge graphics
- Step ladder or stool (if the lightbox is 2.5m tall)
- Two-person lift for loading and unloading (as some bags weigh more than 16kg)
- 240v 10amp power supply (optional)
Step 2: Prepare the Installation Area
Choose an ideal location for your SEG lightboxes, considering factors such as visibility and accessibility. Ensure that the wall or surface where you plan to install the light box is clean, dry, and sturdy enough to support its weight. Measure the dimensions of the light box and mark the desired placement on the wall, ensuring it is level. Maintain a clear and uncluttered area to operate in while setting up. It is essential to avoid mixing the profiles and components if you have multiple light boxes.
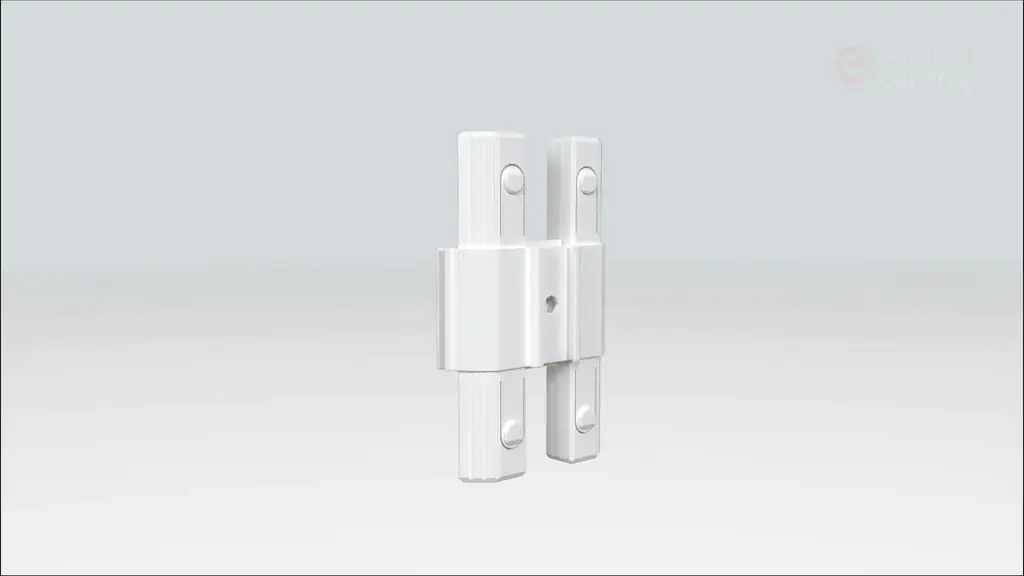
Step 3: Assemble the SEG Lumi Light Box Frame
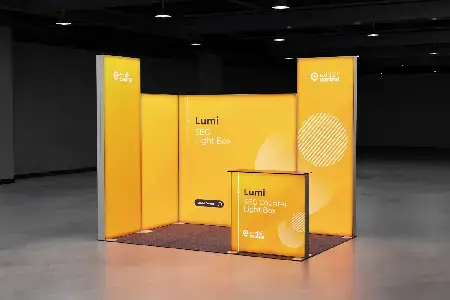
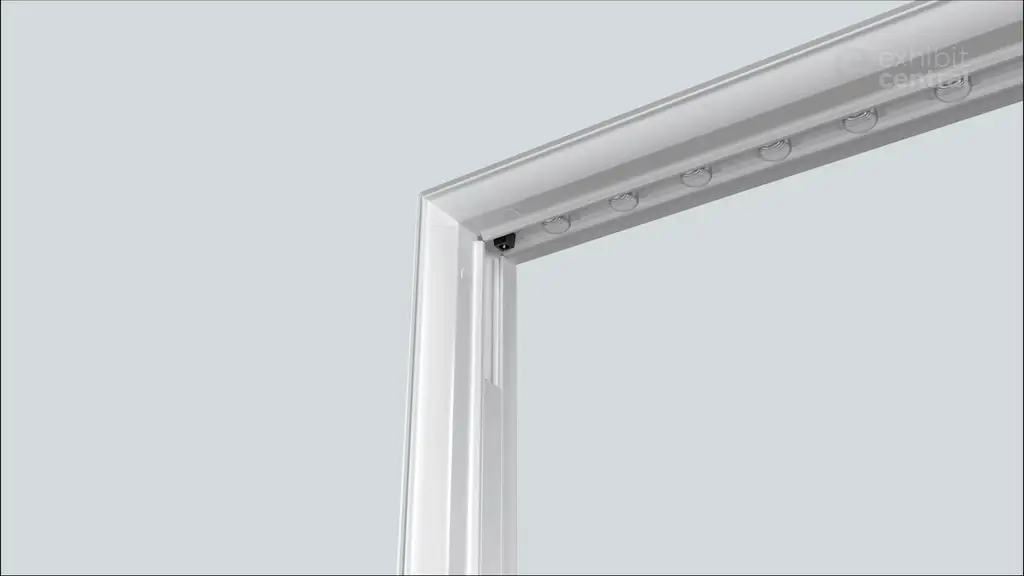
Begin by assembling the frame of the SEG Lumi Light Box. The light box frames are designed for quick and easy snapping together, and they can be combined with other light boxes to expand the display area. Lumi SEG Light Box | Plug and Play Modular Display SystemsStep 4: Determine the Number of Power Adapters Needed
Consider that each power adapter can support up to 3 LED profiles. For larger light boxes with more than three LED profiles, you will need multiple power adapters to ensure proper lighting. When setting up your display, ensure access to an electrical outlet that can accommodate the required power adapters.
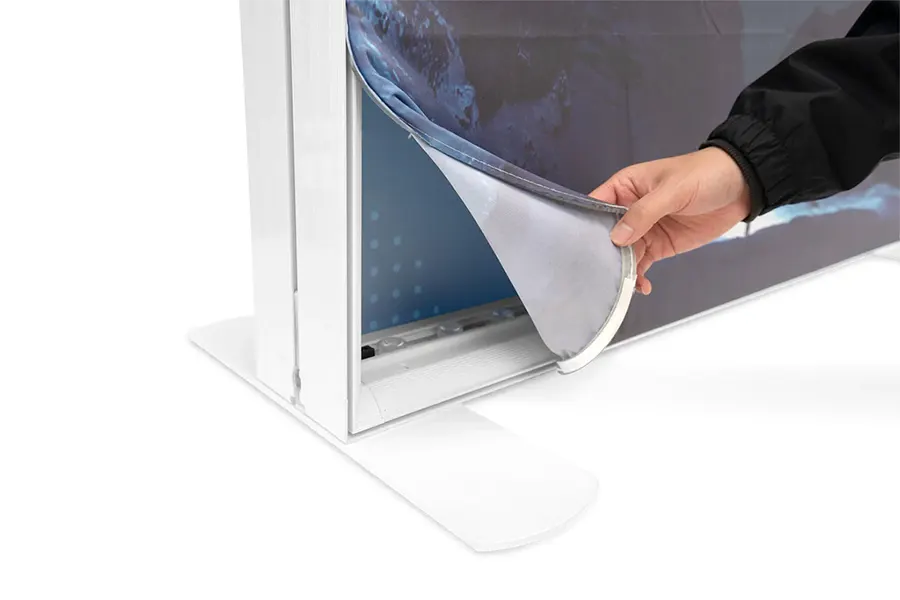
Step 5: Install the SEG Fabric
When attaching the silicone edge graphics, be cautious not to let it touch the floor. Starting with the top two corners, insert the silicone edge. Fold the fabric and silicone edges away from you and push the silicone edge into the frame groove. Continue working your way around the frame’s edge, starting with the corners, until the fabric artwork is taut and securely fastened.Step 6: Finishing Touches
Once the SEG Lumi Light Box is properly installed, take a moment to inspect the overall appearance. Ensure that all cables and connectors are neatly tucked away and hidden from view. Use appropriate cable management solutions to secure any loose cables and maintain a clean aesthetic. Step back and assess the final look of your installation. Make any necessary adjustments to the positioning or alignment of the light box to achieve the desired visual impact.Step 7: Enjoying and Maintaining the SEG Lumi Light Box
With the SEG Lumi Light Box, with its amazing silicone edge graphics successfully installed, it’s time to bask in its stunning lighting effects and confidently showcase your exhibits or displays. Regularly clean the surface of the light box and LED strips using a soft, lint-free cloth to remove dust and fingerprints, ensuring optimal brightness and clarity. Familiarize yourself with the manufacturer’s guidelines for maintenance and any specific care instructions provided. These guidelines may include information on replacing the LED light strips troubleshooting common issues, or accessing additional features or accessories specific to the SEG Lumi Light Box.Conclusion:
The SEG Lumi Light Box offers a simple yet impactful way to illuminate your exhibits and displays, creating visually captivating experiences. By following this step-by-step installation guide, you can effortlessly set up the SEG Lumi Light Box and make the most of its stunning lighting capabilities. Remember to gather all the necessary components, prepare the installation area, assemble the frame, install and connect the LED light strips, attach the silicone edge graphics, and ensure a proper power supply. Take care when attaching the SEG fabric to maintain a taut and seamless appearance. Once installed, step back and admire the impressive visual impact of the SEG Lumi Light Box. Regularly maintain and clean the light box and the silicone edge graphics to ensure optimal performance and longevity. With the SEG Lumi Light Box, Exhibit Central in Australia can enhance your exhibits and displays, creating captivating showcases that draw attention and leave a lasting impression on visitors. Embrace the versatility and beauty of the SEG Lumi Light Box, and let it transform your exhibitions into stunning visual experiences.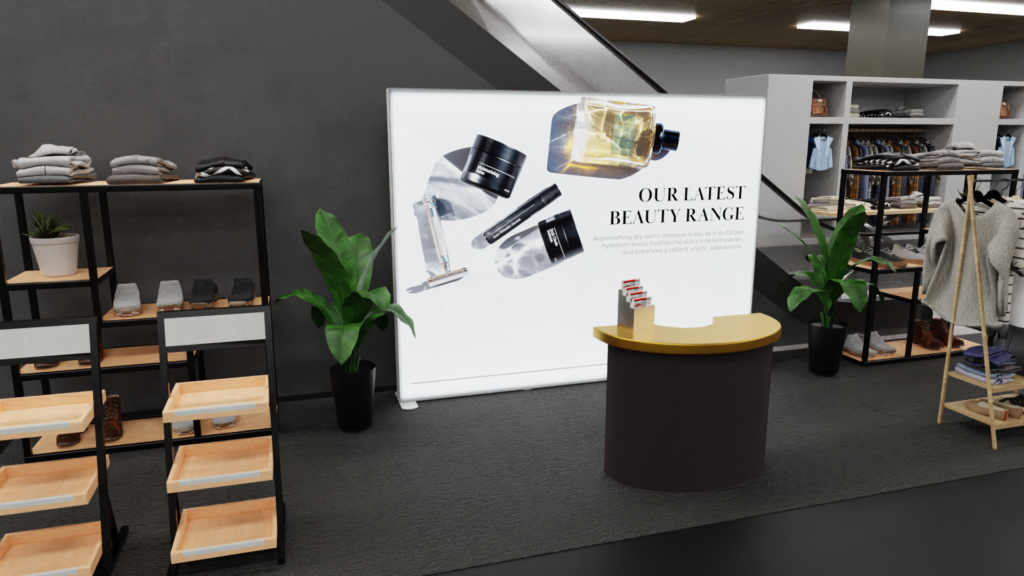
Retail Signage: The Silent Salesperson Boosting Your Business
Retail signage is the unsung hero of the retail world. It’s the silent salesperson that greets customers, informs them about …
Display Counters for Retail Stores: Attract Customers and Boost Sales
Display retail counters are the workhorses of retail stores, playing a crucial role in showcasing products, facilitating sales, and enhancing …

Expo Marketing: A Comprehensive Guide to Maximise Your ROI
Expo marketing, also known as trade show marketing or exhibition marketing, is a powerful strategy for businesses to connect with …

Design Your Dream Exhibition: A Step-by-Step Guide to Exhibition Space Design Plans
Imagine your ideal exhibition experience. Visitors flock to your space, eyes wide with curiosity. They’re not just passively browsing; they’re …
